
How to Give Your Bathroom a Spring Clean

Bathroom Spring Cleaning Made Easy with these 7 Steps
Spring times are pretty symbolic with renewal - A time for us to freshen and rejuvenate ourselves and our homes. Our bathrooms, which are the most visited places at our homes, shouldn’t be left to muddle with dirt and germs. That’s why we believe that there is no better place to start spring cleaning than our bathrooms. It’s neither that easy nor an exciting thing to do, but it definitely is a rewarding chore which will surely refresh your mood. Read along and see how to spring clean your bathroom, making it thoroughly tidy.
How to Spring Clean Bathroom – Precursor: Clearing the Clutter
Before we start clean Spring clean our bathroom, the first thing to note is to clear off any unnecessary clutter. You know this step would been much easy if you already have a daily bathroom cleaning routine. But we are not starting this as a major ‘sorting’ and ‘organization’ process. Instead, we are doing a simple ‘move’ of clearing off things that don’t belong to the bathroom space anymore.
So, let’s start with the countertop, tossing off any unnecessary or expired items in the trash. Take a bin or basket to put away things that don’t belong there and a garbage bag for things to be collected. Using an organizer such as a shower caddy is highly recommended.
Once your countertop is cleaned, we now move to the cabinets. The bathroom cabinet sadly becomes a place for hoarding needless items, and, because it has a door, we are more than happy to shut it closed, conveniently forgetting the garbage being stored.

Your countertop only needs to have the most needed things up there.
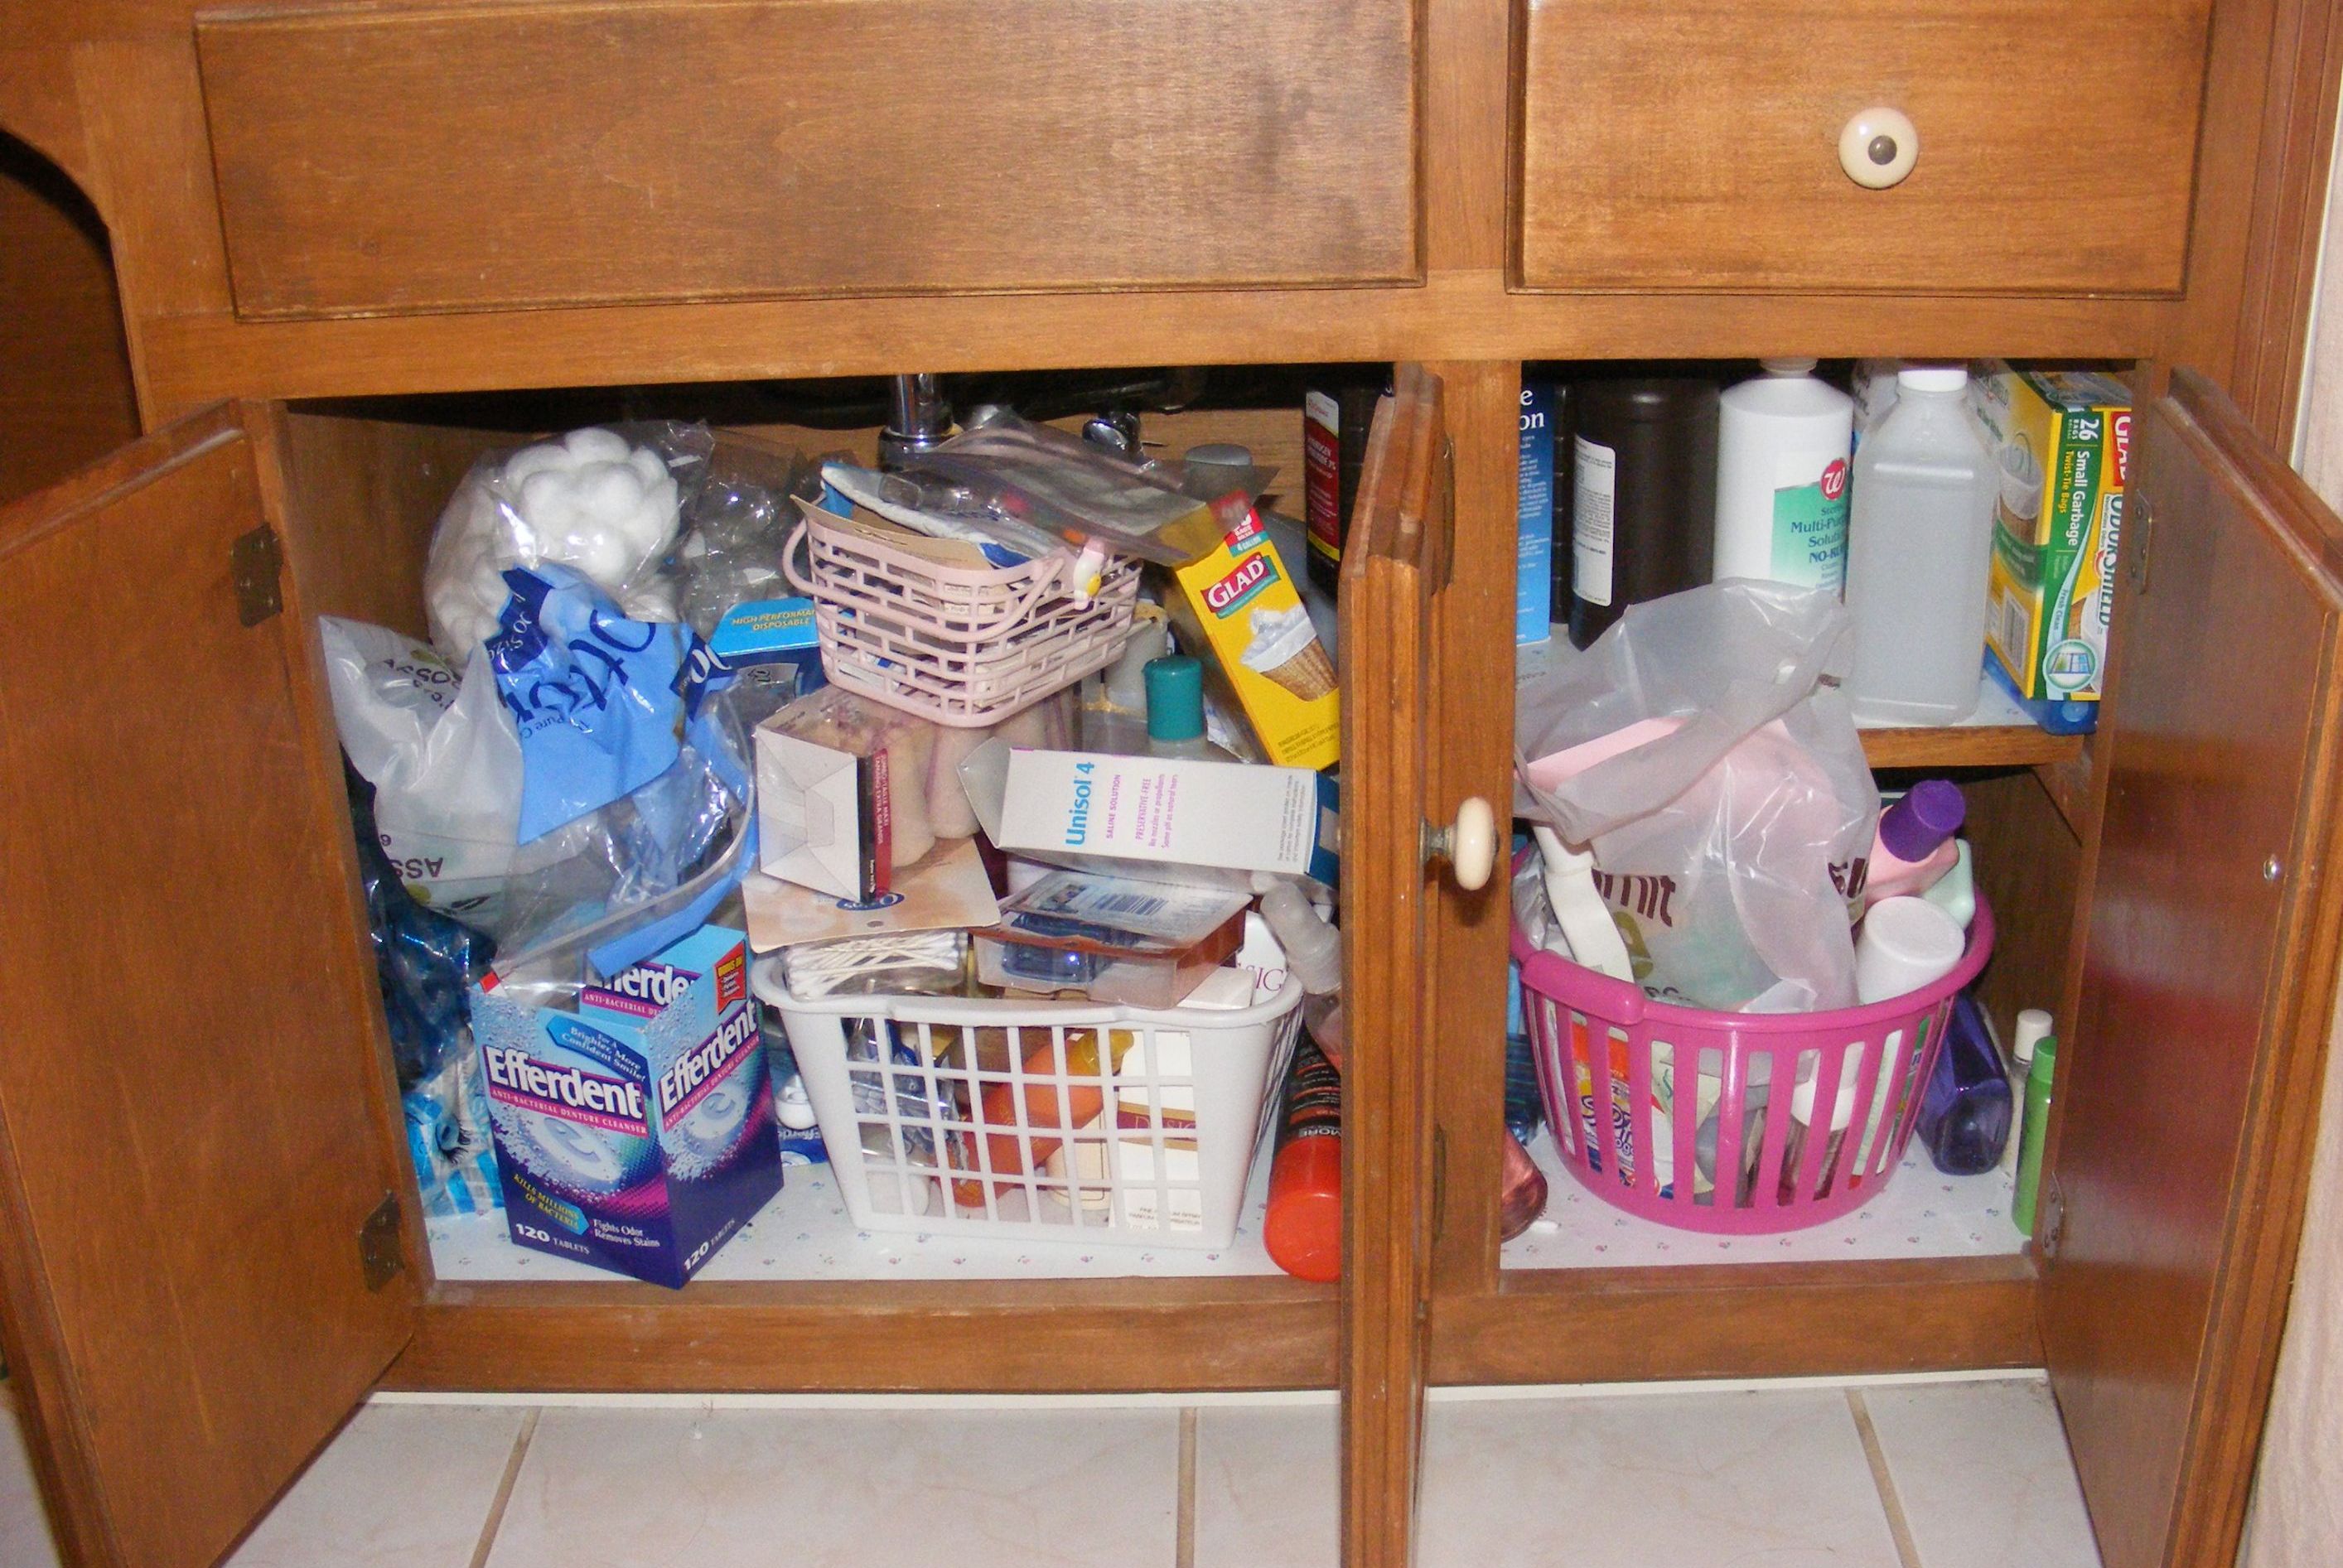
We're pretty sure you can clear out at least 5 needless items from your bathroom cabinet
Besides that, it is also completely out of our immediate sight, due to which we neglect it and have no intention of clearing it out. As a result, the mess starts to go overboard with misplaced items, dirty leaks, and messy surfaces. So how do we tidy them up?
Begin with emptying the contents of the drawers and cabinets. Once done, spread them all out on the floor, making it easy to sort and place them in their rightful place – the garbage bin or a basket to store, you decide. With all the clutter done away with, we now get to the step of actual cleaning.
Step 1: Cleaning the Cabinets
A Spring clean bathroom routine starts of with vacuuming the insides of your cabinet now that all the contents are cleared out. Any scraps of paper, hair, dust, or makeup will easily come off. If you find yourself staring at some sticky or gooey mess, chin up and make use of a scraper.

The leaked spill can be anything – from your shampoo, conditioner, or wax, and can be pretty stubborn given the time and nature of spill. So, instead of using a sponge, a scraper will be handier and efficient in scraping it out.
With all dirt and debris removed, take a good microfiber cloth and add a tinge of soap or vinegar and wipe the surface. Similarly, clean other hardware such as the knobs and hinges.
Step 2: Storing the apt way
Now that your cabinets are tidy, wipe the collected items and store them inside properly. In order to prevent future hoarding and messy spills, invest in a few bins and a shower organizer. The containers will not only hold your toiletries and accessories separate, but they also look great and are time-saving to clean.

A Mesh Caddy like this is handy

Or you may prefer a small Tub Organizer
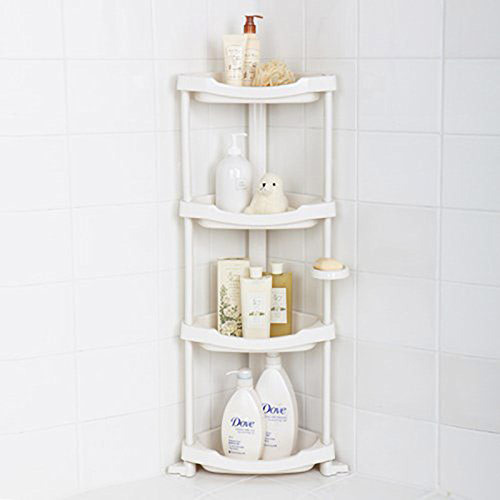
A Corner shower organizer?
You can also fashion out old shoe boxes and baskets as organizers. Naturally, combs and dryers can be placed in baskets while conditioners and shampoos, which can accidentally spill, can be placed in plastic containers.


A genius idea is to use a shower organizer such as the ShowerGem Shower Caddy to store all your bath essentials in a single place. Hated suction cups? Fret not, the simple and elegantly designed bath caddy is quite easy to install without drilling with the help of a powerful glue. What’s more; spring cleaning your bathroom just gets a whole lot easier when using the ShowerGem, as they can be conveniently clipped on/off the wall.
Step 3: The Counter and Sink
An all-purpose cleaner spray can come in handy when cleaning the countertops and vanity. To Spring clean your bathroom the right way spray a good amount of the cleaner on the countertop and the sink. In fact, a solution of dish-washing liquid and water will also do. However, avoid vinegar as it can affect your counter surface, especially if it is granite.
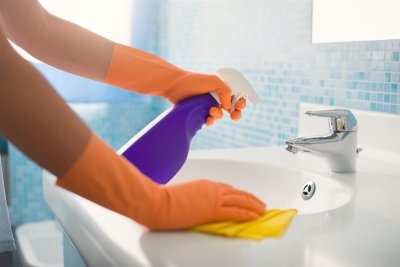

Then, take a wet rag using it to gently rub the counter, removing stains and reaching every nook and corner. When cleaning the basin, scrub in a circular motion starting from the top to the bottom. Once done, rinse off the soap and wipe both the basin and counter with a clean dry cloth.
Step 4: The Mirror
It isn’t exactly cleaning the bathroom when you leave your vanity with a dusty and spotty mirror! In little less than 5 minutes of your time, you can have a tidy and sparkling mirror.
A Spring clean bathroom also involves cleaning your bathroom mirrors. This is quite easy all you have to do is use spray a glass cleaner liquid or a solution of dishwashing liquid and water on your mirror. Then, take a clean and soft cloth to wipe off any white or dirty spots that form on the mirror.

Step 5: The Faucet
With faucets, there are two things that you need to check. First, if your faucet looks dull having lost its shine, take a cloth spritzed with cleaning liquid and gently scrub the surface. If it is metallic in nature, you can even use a bit of vinegar. After which take a soft cloth and wipe it off clean.

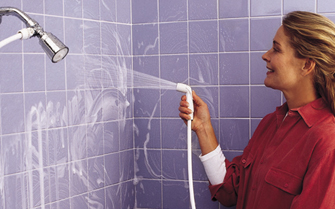
Second, check if the faucet isn’t clogged and the water pours freely. There may be some mineral or dust in your water that can lead to a residual build-up on its head, affecting your water flow.
Take a solution of water and vinegar with a 1:1 ratio in a plastic bag and fasten it around your faucet (the aerator part where water comes out). Leave it overnight and voila! You will find that the scum of mineral particles have all cleared away.
Step 6: The Shower and Tub area
The next big thing for a Spring clean bathroom is to clean is the shower and tub area. Take a good cleaner; more convenient if it’s available in the form of a spray, and spread it evenly over the surfaces, covering the shower area, the surrounding walls, shower head, shower caddy, etc. Let it sit for a good 10-15 minutes or as stipulated by the instructions on the bottle. Later, splash it down with a good amount of water and wipe it clean.
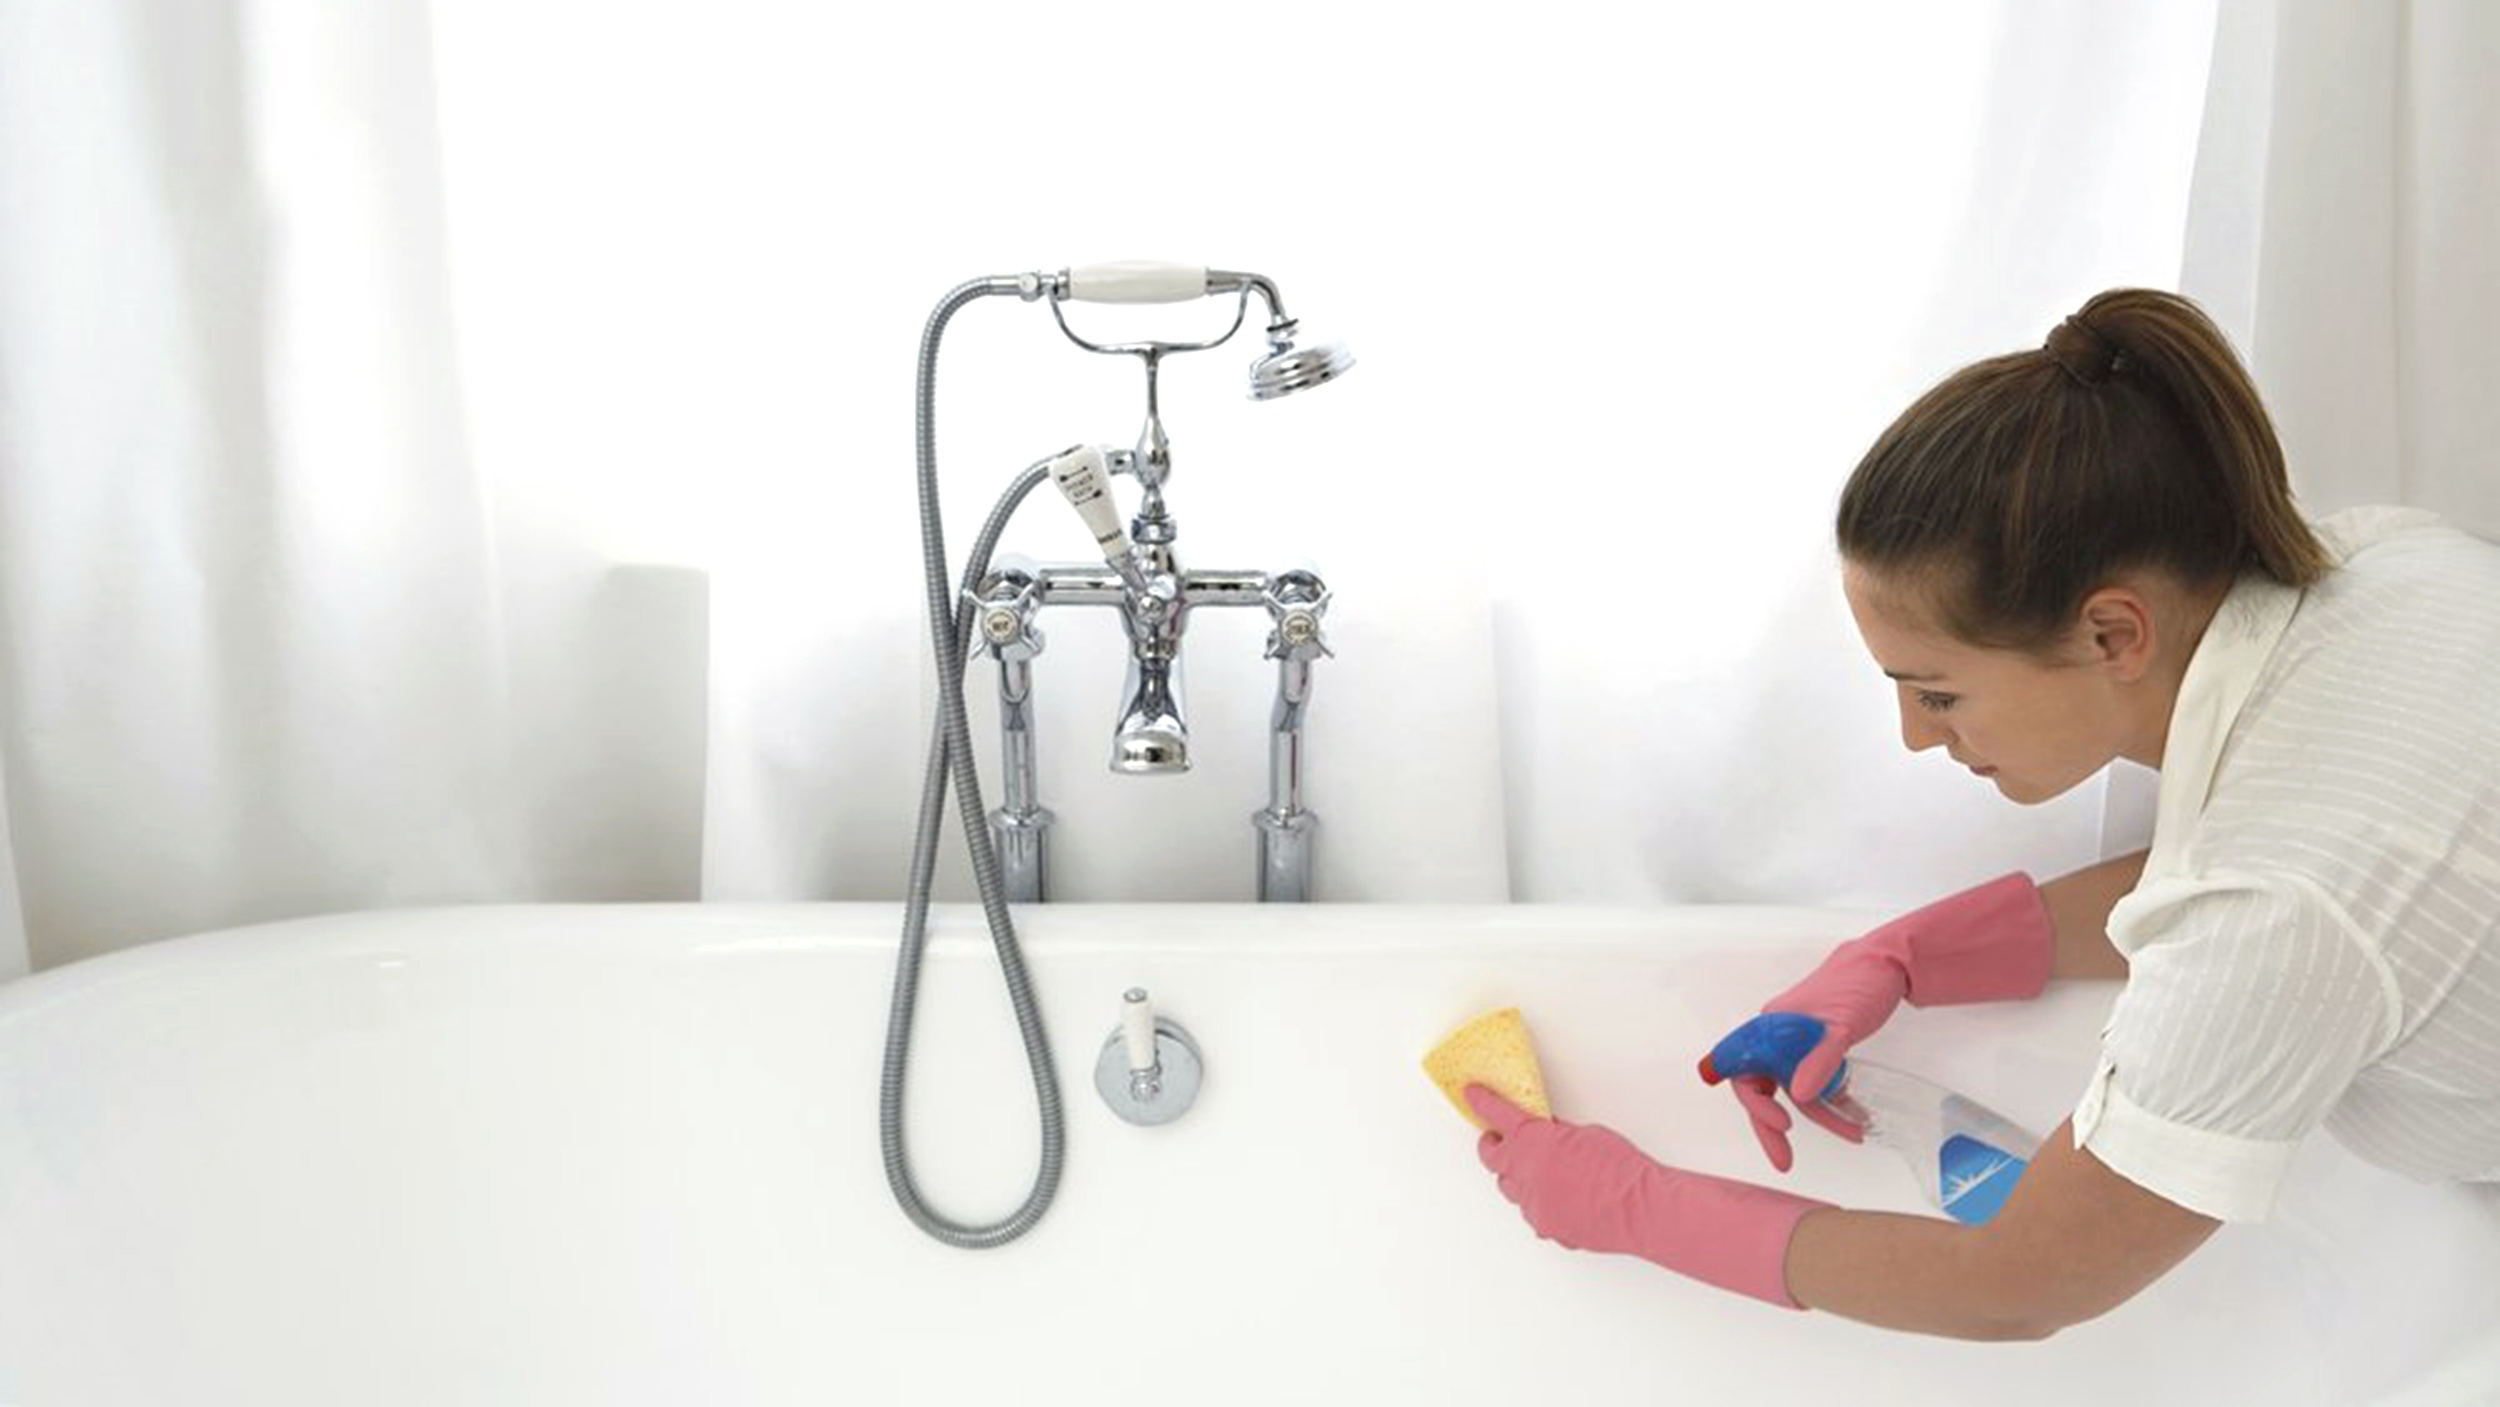
You can also make your own cleaner liquid by taking a mixture of 1:1 proportion of dishwashing detergent and vinegar. Pour the mixture and take a good scrubber, see to it that it is not too rugged as it may scratch the ceramic finish of your bath.
Nicely scrub the surface to remove any residue or soapsuds. For better cleaning, especially when dealing with stubborn dirt and grime, run a hot shower for a minute or so prior cleaning. The hot steam will loosen up the dirt clinging on to the walls or tub which then can be easily scrubbed away. After that, follow the previous procedure of cleaning – spray the cleaner and rinse it off. You can also clean the ShowerGem caddy in a similar manner.
Step 7: The Toilet

Cleaning the toilet can be a task which many of us dislike and get annoyed with. Talk about the risk of splashes!! No one wants to get a spill of that water, clean or not. But worry not, as there is a simple trick that can guarantee you minimal to no splash. Simply pull the flush before you start cleaning. The flush will make the water level much below the original state, thereby, preventing any accidental spillage. And also, the water is now clean.
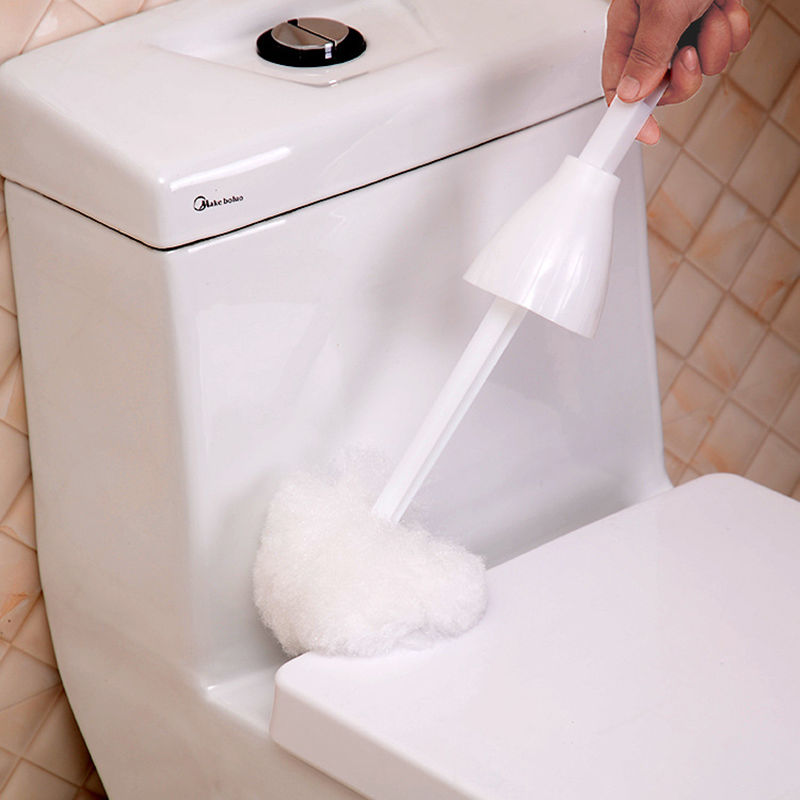
Take your toilet brush and plunge in down the hole, nicely scrubbing the dirt. Pour some toilet cleaner or bleach and scrub the inside of the toilet bowl, especially the underside of the rim and the siphon. Let it sit for some time, say around 10-15 minutes, and rinse it off.
Instead of cleaning liquids, you also use pellets when giving your toilet bowl a spring clean. Simply drop them and use your toilet brush to scrub the surface. There are also little bars which can be added to the flush tank, which will keep your toilet clean and disinfected with every flush. They work for up to 5 months while continually disinfecting and deodorizing your sanitary ware keeping them clean and tidy.
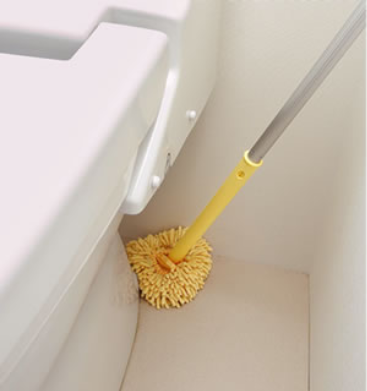
Check for dirt behind the toilet, below the knobs, near the wall, and on top of the flush. If there are stubborn stains below the toilet seat, lift the cap and remove the cover by unscrewing it. Once done, you can clean the bottom of the seat thoroughly. The hard-to-reach places can be a bit irritating, but this is where a steam cleaner can come in handy.
A steam cleaner can work efficiently to clean every spot on the toilet bowl without trouble. But if you don't have one, simply take a toothbrush and a mix of vinegar and water or bleach, and get those areas around the base of the toilet. You can also fashion out a spray with a paste of baking soda and water – just spray on the unclean areas and let it dry. Then use vinegar and wipe it off, using a wet rag.
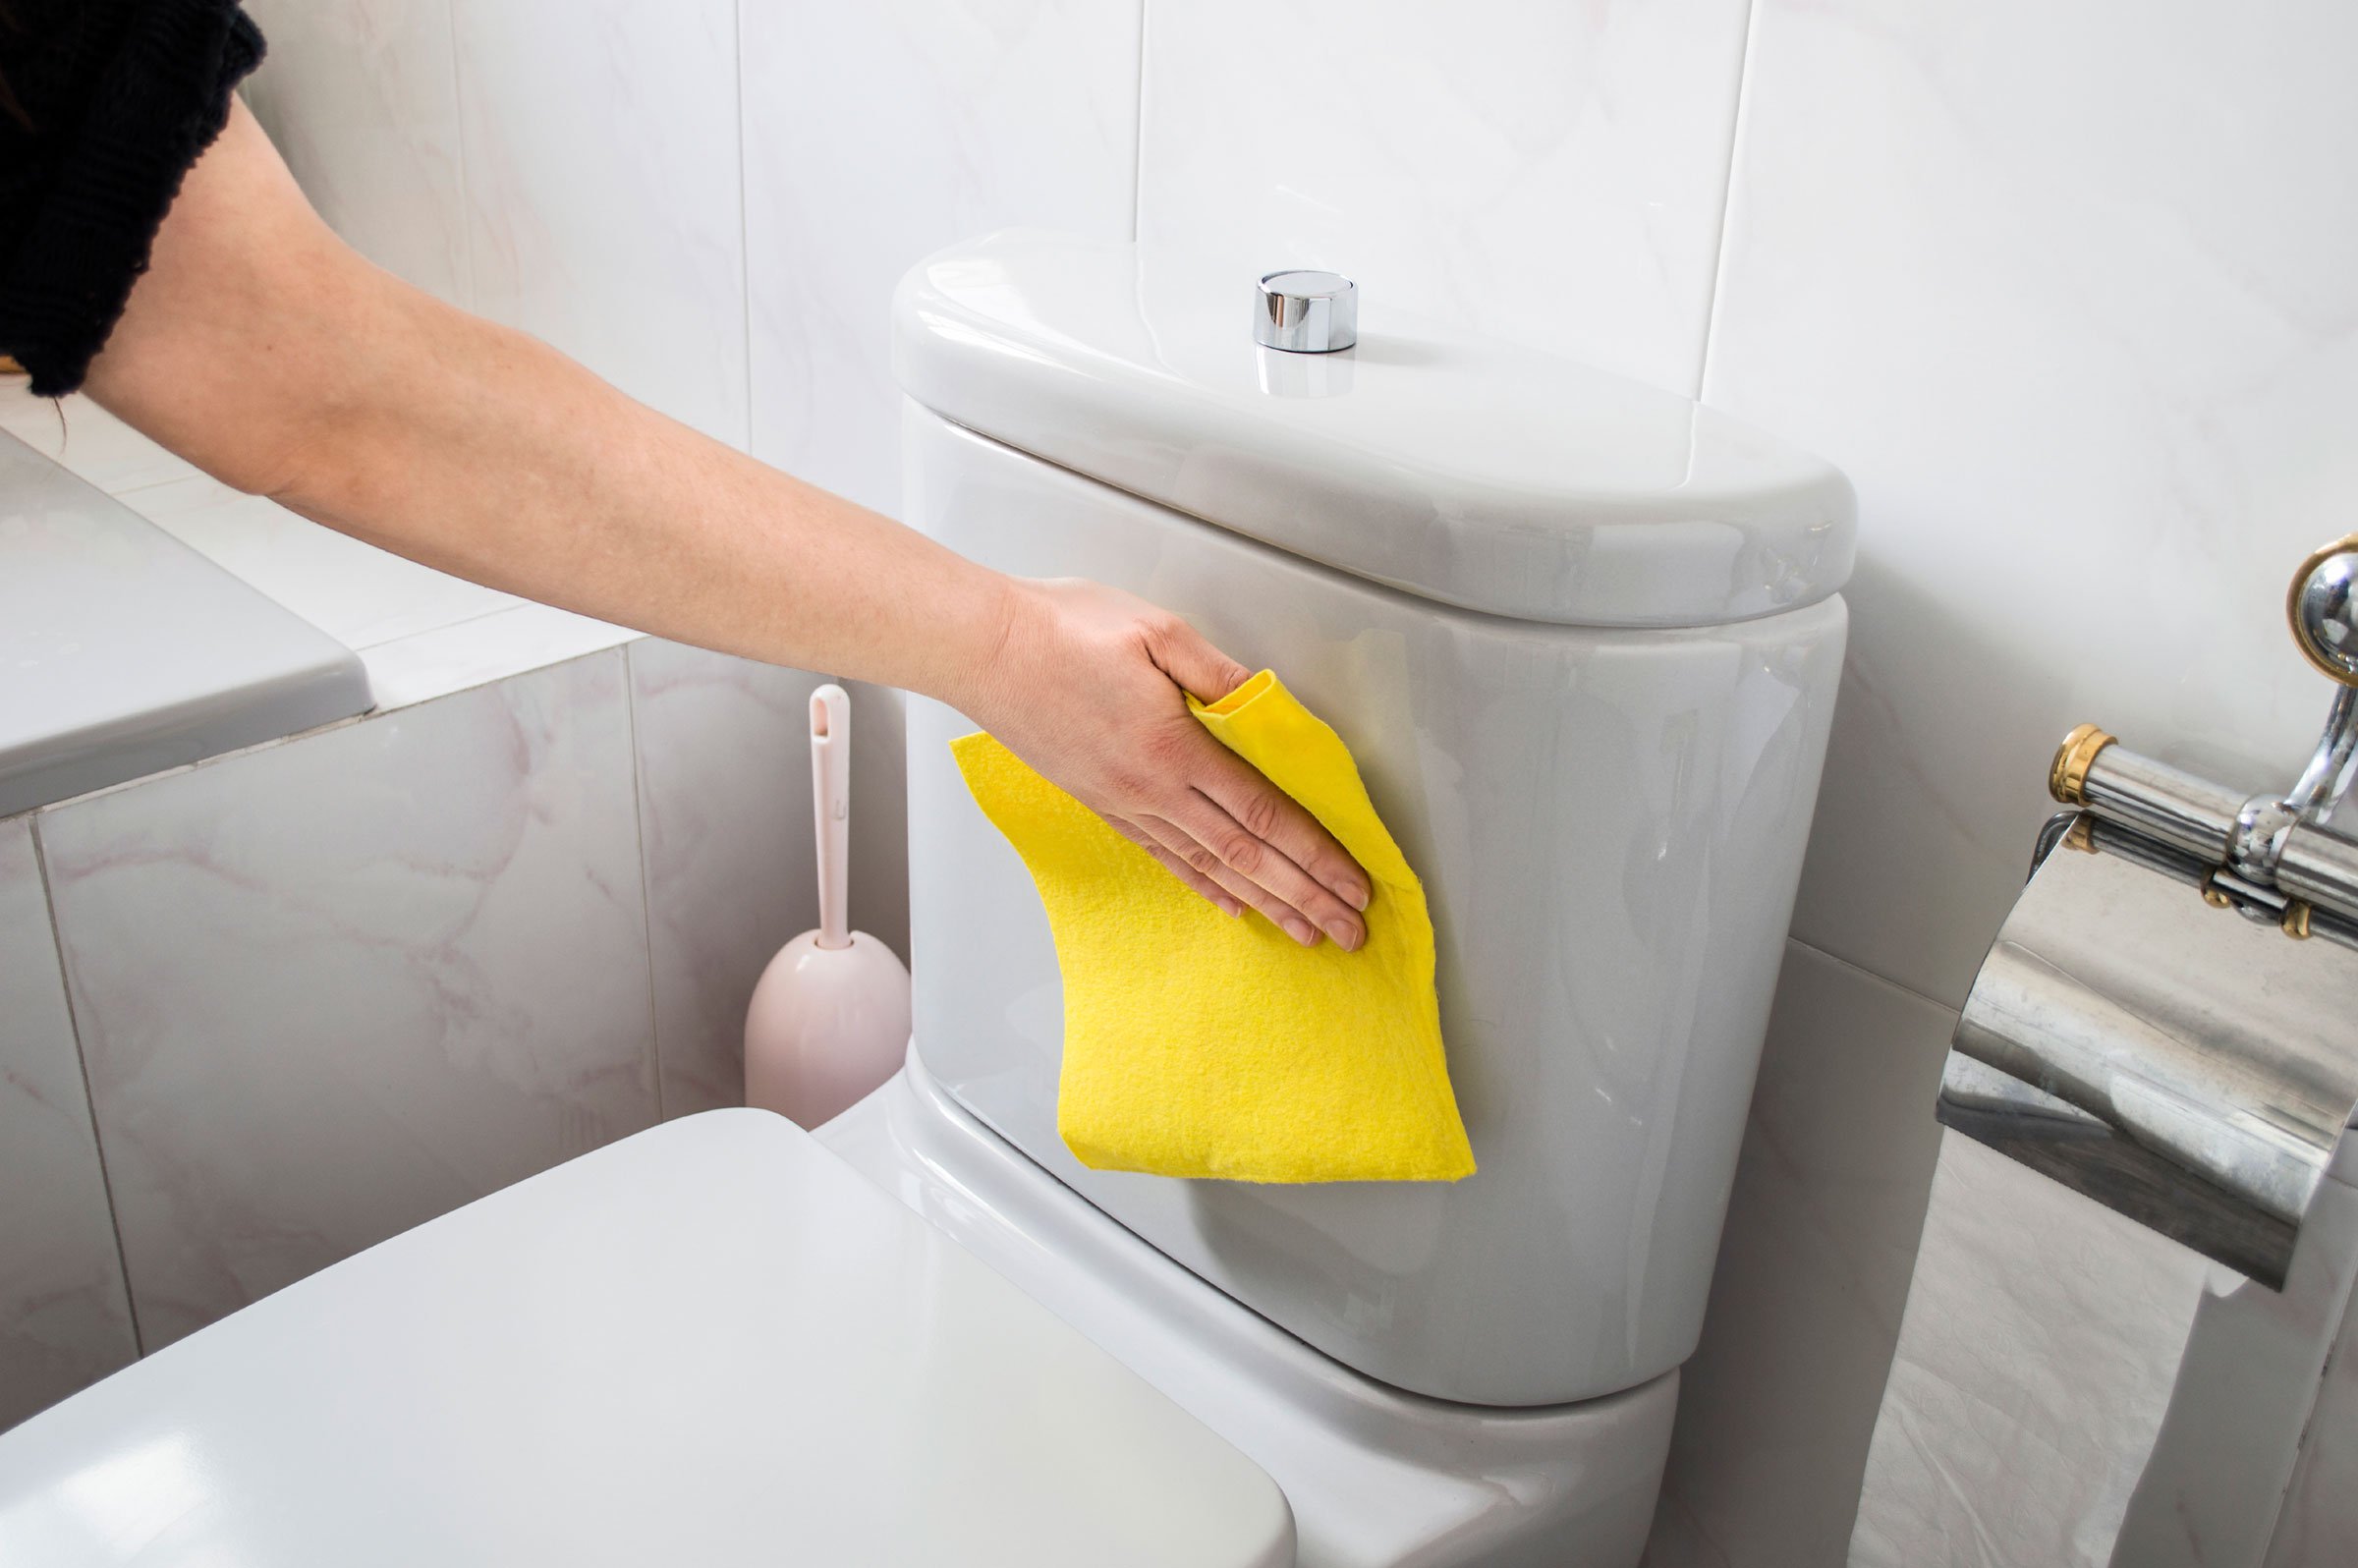
With your toilet interior cleaned and scrubbed to every inch, you may think that you are done. Nope, there is another area you’ve missed. Many of us tend to ignore the toilet exterior, but it needs your attention equally. You can get a variety of cleaning solutions that are available in the market. Spray the exterior of the toilet with the cleaner and scrub away any lingering dirt. Rinse off the surface and wipe it clean with a dry rag.
That concludes some of our proven bathroom spring cleaning tips. With it, we’re sure that your bathroom cleaning will not only be better but also thoroughly tidy and easy-to-follow.